Tipton Green Toll End Communication, Dixon, Haines and Danks Branch
Tipton Green Toll End Communication
Flight along the route today (Flying East)
Flight along the route today (Flying West)
* Image colourised from black and white original

1:25000 Ordnance Survey Map 1920's

Aerial View 1945 (Google Earth)
Tipton Green Length


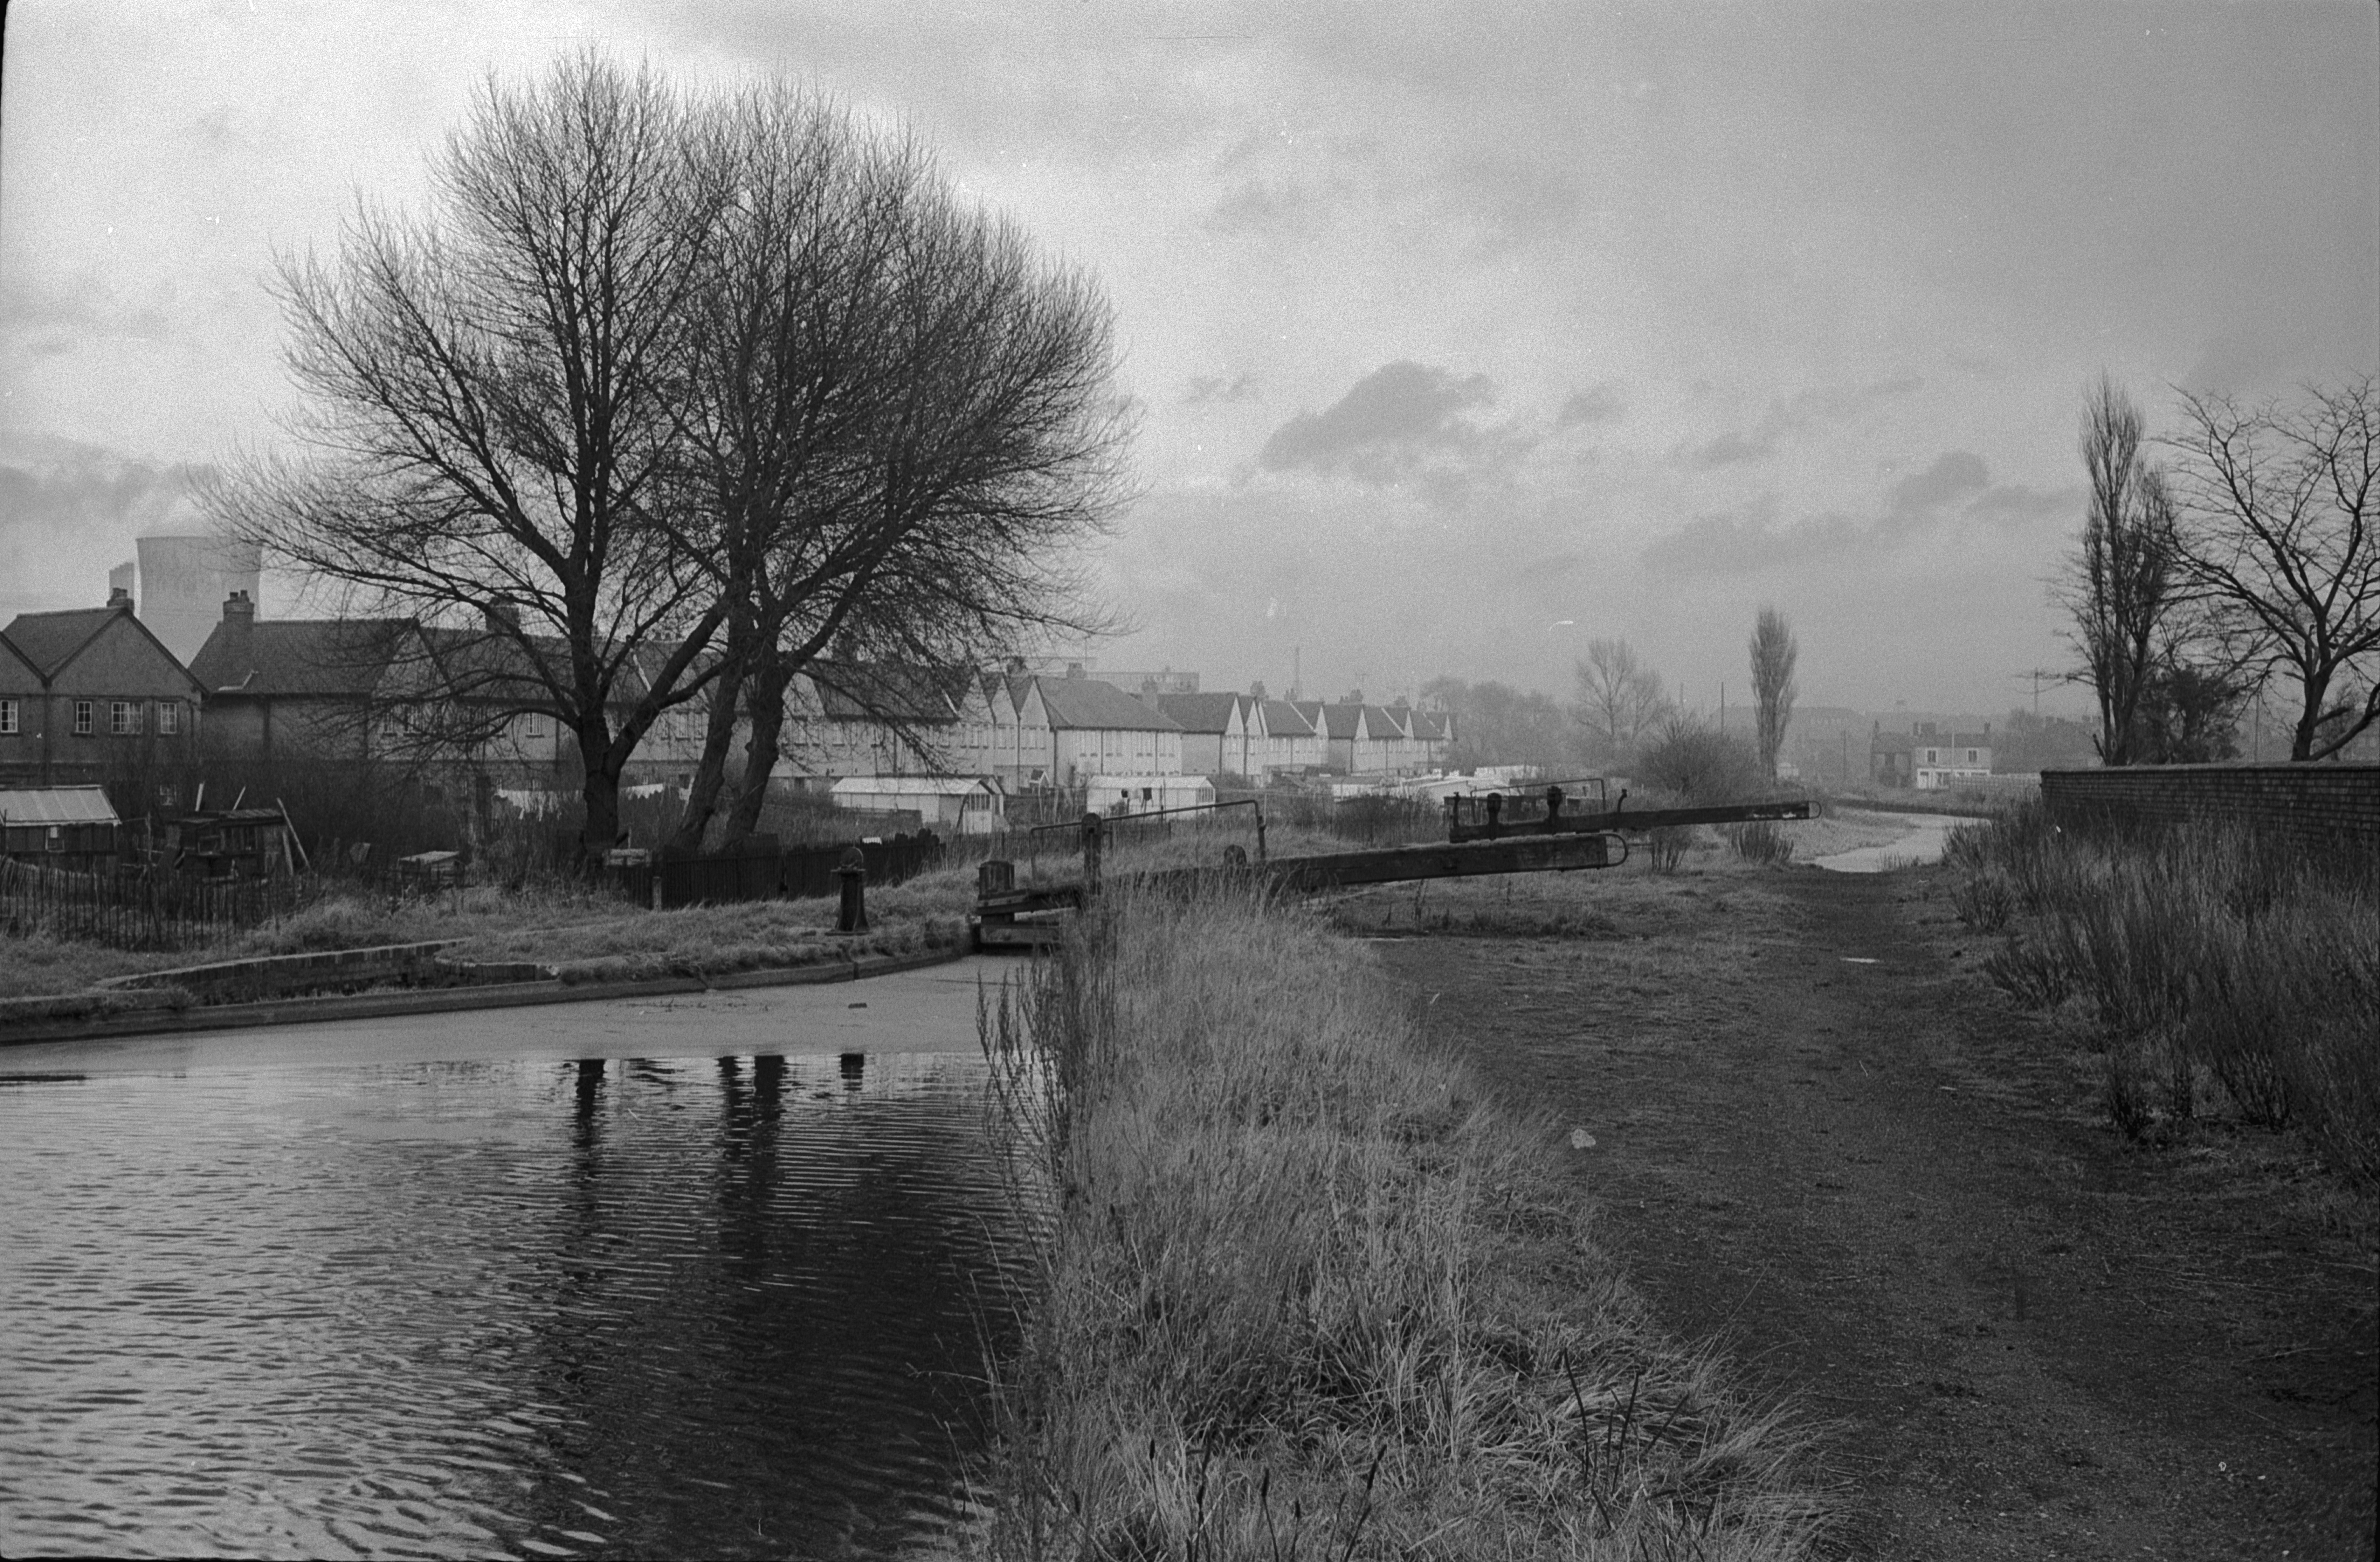
* Tipton Green Junction Looking SE

* Tipton Green Junction Looking NW 1941 (Kathryn Dodington, IWM)

Zoom of above 1941 (Kathryn Dodington, IWM)

Tipton Green Locks 1955 (Aerofilms)

* Tipton Green Junction 1941 (Bill Bawden, Keith Hodgkins)

* Locks 1 and Elliot Road 1941 (Kathryn Dodington, Imperial War Museum)

* Locks 1 and Elliot Road 1941 (Kathryn Dodington, Imperial War Museum)

Zoom of above 1941 (Kathryn Dodington, IWM)

* Locks 1-2 1957 (Arthur Watts CRT Archives)

* Locks 1-2 1957 (Arthur Watts CRT Archives)

* Lock 2 1941 (Kathryn Dodington, Imperial War Museum)

* By Lock 2 1916 (Keith Hodgkins Collection)

* Above Union Street Bridge 1941 (Kathryn Dodington, Imperial War Museum)

Locks 1-6 1935 (Britain from Above)

* Union Street Bridge 1957 (Arthur Watts CRT Archives)

* Union Street Bridge 1957 (Arthur Watts CRT Archives)

* Union Street Bridge 1890

* Lock 2-1 from Union Bridge 1960 (Keith Hodgkins Collection)

* As Above zoomed in 1960 (Keith Hodgkins Collection)

* Lock 3 from Union Bridge 1960 (Keith Hodgkins Collection)

* As Above zoomed in 1960 (Keith Hodgkins Collection)

* Lock 3 1941 (Kathryn Dodington, Imperial War Museum)


Locks 1-3 1937 (Britain from Above)
Middle Length


Locks 1-6 highlighted in blue (Britain from Above)

* Watery Lane and Lock 4 1966 (HNBC Weaver)

* Watery Lane Junction Looking North (Geoff Dowling)


* Watery Lane Junction and Lock 3 (Arthur Watts CRT Archives)

Watery Lane Junction and Caggy's Basin 1966 (Ian Huselbee)

* As above zoomed 1957 (Arthur Watts CRT Archives)

Locks 1-5 (Britain from Above)

Lock 4 1965 (Ian Huselbee)

* Lock 4

* As above zoomed in

Lock 4-5 1965 (Ian Huselbee)

Locks 3-6 1935 (Britain from Above)

Lock 5 1966 (Ian Huselbee)


Lock 5-6 1966 (Ian Huselbee)

* Locks 5-6

* Lock 5

Lock 5 1966 (Ian Huselbee)

Locks 4-8 1950 (Britain from Above)

Lock 6 1966 (Ian Huselbee)

* Locks 6-5 1969 (AH Price, Keith Hodgkins)

* Lock 6 (AH Price, Keith Hodgkins)


* Lock 7 (Liz Powell)

* Lock 7 and BCN Cottage 1966 (HNBC Philip Weaver)


* Locks 7-8 (Britain from Above)

* Locks 7-8 1924 (Britain from Above)

* Lock 8 1965 (Ian Huselbee)

* Upper Church Lane 1975 (Hugh Potter)

* Below Upper Church Lane 1966 (HNBC Philip Weaver)
Toll End Length


* West towards Upper Church Lane 1968 (AH Price, Keith Hodgkins)

* As above zoomed

* West towards Upper Church Lane (Keith Hodgkins, Robert Davies)

West towards Upper Church Lane 1966 (Ian Huselbee)
Lock 9 1966 (Ian Huselbee)

* Lock 9 1966 (HNBC Philip Weaver)

* Lock 9 1966 (HNBC Philip Weaver)

* Lock 10 1965 (Alf Perks, Keith Hodgkins)

* Lock 10 last passage from David Blagrove Book (Brian Beagley)

Lock 10 and Toll End Bridge 1966 (Ian Huselbee)
i.jpg)
Lock 10 Protest Cruise 1967? (David Willis, Keith Hodgkins)

* Lock 10 from Toll End Bridge 1965 (Alf Perks, Keith Hodgkins)

* Toll End Bridge looking North East 1969 (Alan Price Keith Hodgkins)

* Toll End Bridge from Lock 10 1966 (HNBC Philip Weaver)
.jpg)
Toll End Bridge Protest Cruise 1967? (David Willis, Keith Hodgkins)

East from Toll End Bridge (Sandwell Archive)

Toll End Bridge and Lock 10 1966 (Ian Huselbee)

East to Brookhouse Bridge 1966 (Ian Huselbee)

West to Brookhouse Bridge 1966 (Ian Huselbee)

Brookhouse Bridge to Toll End Junction 1966 (Ian Huselbee)

Brookhouse Bridge to Toll End Junction 1966 (Sandwell Archives)

* Toll End (Tipton & Black Country Group)

Toll End 1912 (Michael Brooks)

* Toll End Junction looking West to Brookhouse Bridge 1969 (Alan Price)

Toll End Junction 1966 (Ian Huselbee)


* Toll End Junction from Walsall Canal 1957 (Arthur Watts CRT)
Dixons Branch


Entrance to the Dixon's Branch (Britain from Above)

* Entrance to the Dixon's Branch 1974 (Hugh Potter)

* Stanked entrance to the Dixon's Branch (Philip Weaver HNBC)

Mond Gas Works Basin, Bottom Right (Aerofilms)

Dixon's Branch 1950 (Britain from Above)

* Gas Works Basin 1904

* Gas Works Basin 1904

Gas Works Basin 1924 (Britain from Above)

Junction and Station Road Bridge 1935 (Britain from Above)

* From Station Road to Lower Church Lane 1965 (Keith Hodgkins)

* As above zoomed

Branch from Lower Church Lane 1950 (Britain from Above)

* Lower Church Lane Bridge

* SW from Lower Church Lane Bridge (AH Price, Keith Hodgkins)

* SW from Lower Church Lane Bridge

* Lower Church Lane Bridge 1967 (Alan Hunston)

Dixons Branch 1945 (Google Earth)


Around the junction with the Horseley Basin (Arthur Farrand Radley, BCNS)


Horsley Iron Works 1974 (Hugh Potter)

Horsley Road Bridge (BCNS)


Horsley Road Bridge (Laurence Hogg)

* Horsley Road Bridge 1974 (Hugh Potter)

SW from Horsley Road Bridge (Arthur Farrand Radley, BCNS)

Horseley Road Bridge and Terminus (Britain from Above)

* NE from Horsley Road Bridge (Richard Chester Browne)

Horseley Road Bridge and Terminus (Keith Hodgkins Collection)

* NE from Horsley Road Bridge (Arthur Farrand Radley BCNS)

* NE from Horsley Road Bridge (Laurence Hogg)

South from Terminus (Phil Clayton, BCNS)
Haines Branch


Ryders Green Bottom Lock, Interchange and Junction 1950 (Britain from Above)

Ryders Green Bottom Lock, Interchange and Haines Branch Junction

* Ryders Green Bottom Lock, Interchange and Haines Branch Junction

Ryders Green Bottom Lock, Interchange and Haines Branch Junction 1979 (Trevor Littlewood)

* Haines Branch Junction 1957 (Arthur Watts CRT)

* Haines Branch Junction

Haines Branch from Walsall Canal 1970 (Edwin Shearing, RCHS)

* Haines Branch Junction 1969 (AH Price, Keith Hodgkins)

Great Bridge 1951 (Britain from Above)

* Great Bridge from Railway Braige 1974 (Hugh Potter)

Great Bridge from Railway 1979 (Trevor Littlewood)

Great Bridge looking South (Laurence Hogg)

* Great Bridge and BCN Cottage 1972 (Keith Hodgkins)

* Great Bridge looking North 1979 (Trevor Littlewood)

Haines Branch 1945 (Google Eath)

Haines Branch North End (Aerofilms)

* Cox's Yard 1969 (AH Price, Keith Hodgkins)

* Cox's Yard 1966 (David Wilson)

Cox's Yard 1916 (Dudley Archives)

* Cox's Yard 1966 (David Wilson)

* Cox's Yard 1966 (David Wilson)

North from Sheepwash Lane (Laurence Hogg)

South from Sheepwash Lane 1966 (Ian Huselbee)

* Sheepwash Lane Bridge and Aqueduct

Sheepwash Lane 1977 (WH Willington)

Sheepwash Lane Bridge (Keith Hodgkins)

Sheepwash Lane Bridge (Keith Hodgkins)

Haines Branch Northern End 1937 (Britain from Above)

Haines Branch, Southern End 1946 (Britain from Above)

* Terrminus and Floods 1949 (Conurbation)

Haines Branch, Southern End 1950 (Britain from Above)

Haines Branch 1937 (Britain from Above)
Danks Branch


Junction with the Walsall Canal 1979 (Trevor Littlewood)

Junction with the Walsall Canal (Martin OKeeffe, BCNS)

Junction with the Walsall Canal (Martin OKeeffe, BCNS)

South Railway Bridge 1997 (Keith Hodgkins)

From S Railway Bridge (Martin OKeeffe, BCNS)

From S Railway Bridge 1998 (Keith Hodgkins)

Danks Branch South 1945 (Google Earth)

Moors Mill Bridge and Foundry Basin 1951 (Britain from Above)

Danks Branch Central 1958 (Keith Hodgkins)

West from Moors Mill Bridge (Martin OKeeffe, BCNS)

West from Moors Mill Bridge (Martin OKeeffe, BCNS)


Moors Mill Bridge (Martin OKeeffe, BCNS)

* North from Moors Mill Bridge

North from Moors Mill Bridge (Martin OKeeffe, BCNS)

Basin by Moors Mill Bridge 1938 (Britain from Above)

Golds Green Bridge 1938 (Britain from Above)

Danks Branch North 1945 (Google Earth)

* From the Junction Bridge with the Tame Valley Canal (John Whitehouse)

* Junction with the Tame Valley Canal (Philip Weaver HNBC)

Junction with the Tame Valley Canal 1966 (Edwin Shearing RCHS)

Junction with the Tame Valley Canal 1951 (Britain from Above)

Danks Branch from the North 1949 (Britain from Above)

Danks Junction from Tame Valley Canal (Imperial War Museum)

Danks Branch 1945 (Google Earth)
These images are reproduced for ease of research are are not the property of this blog, and as such should
not be used for commercial gain without the explicit permission of the owner (whoever that may be).


Comments
Post a Comment