Bentley Part 2 (East, Anson Branch and James Bridge Arm)
Bentley Canal Part 2 (East & Anson Branch)
Flight along the route today (Flying East)
Flight along the route today (Flying West)
* Image colourised from black and white original

1:25000 Ordnance Survey Map 1920

1:25000 Ordnance Survey Map 1920

* Lock 6 and Tube Works from Hills Bridge

Lock 6 and Tube Works from Hills Bridge 1979 (Alan T Smith)

* West from Hills Bridge (Brenda Ward)

Hills Bridge (Peter Kennedy)

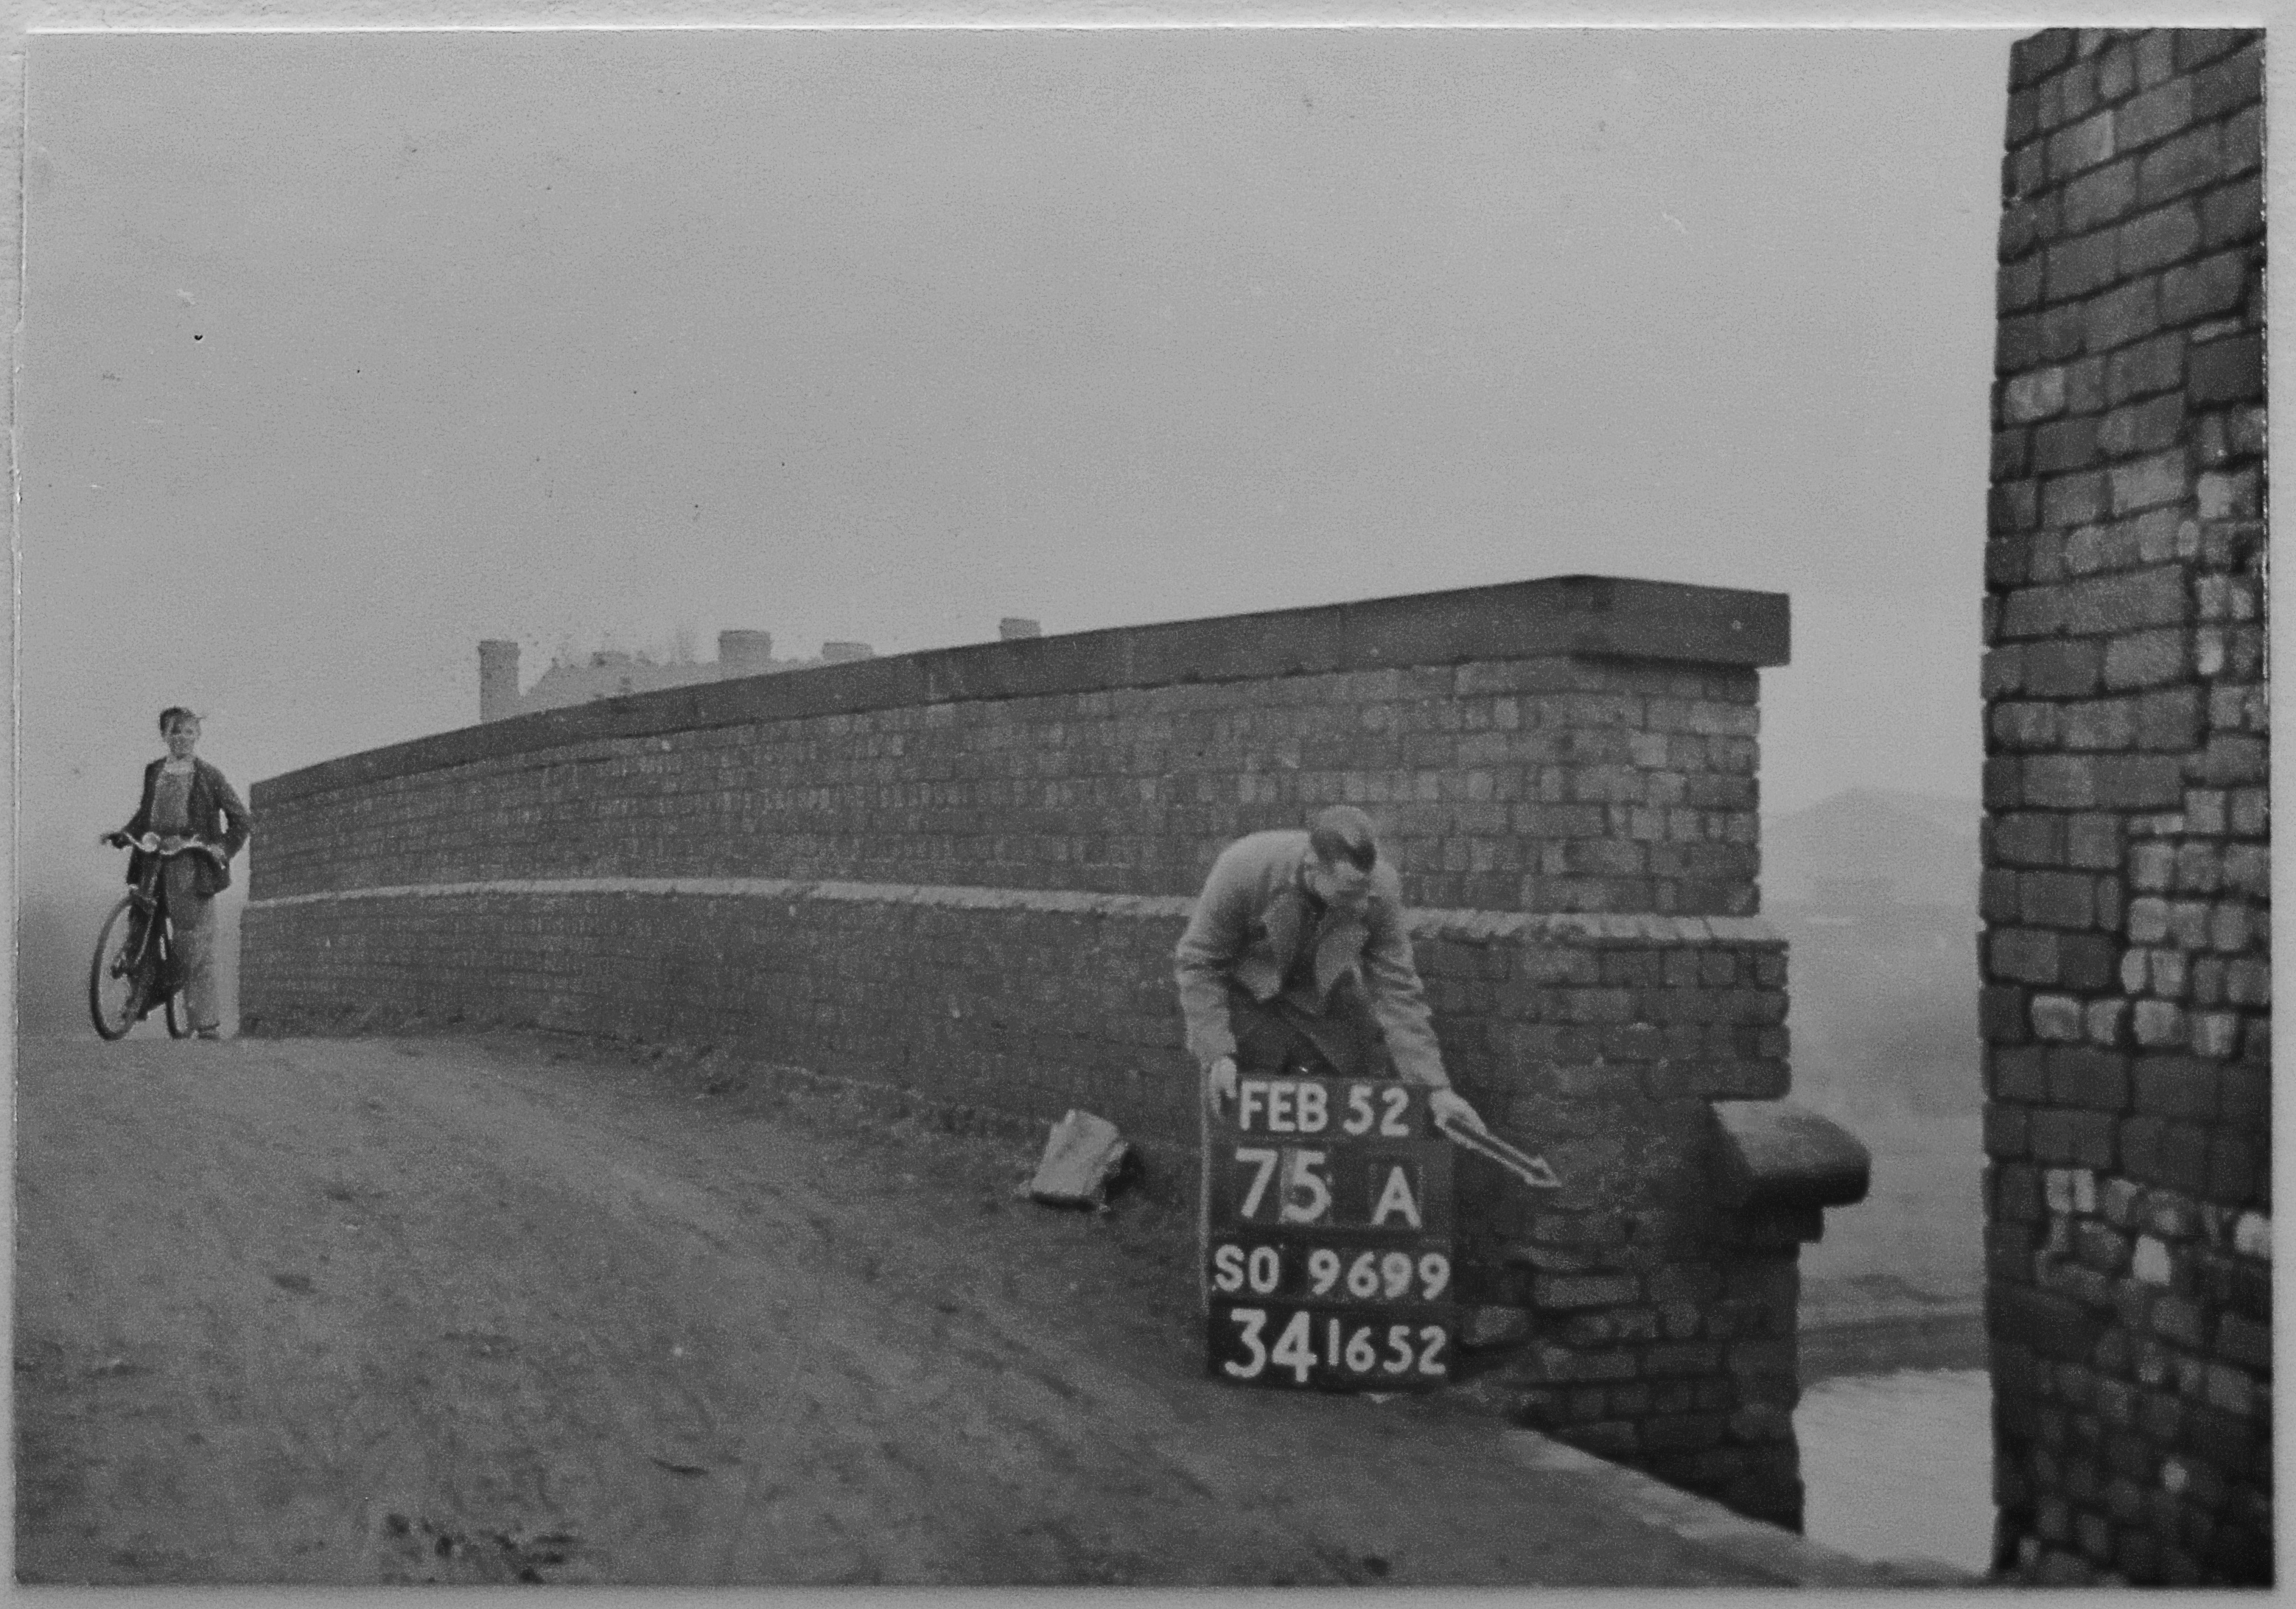
Hills Bridge 1952 (Ordnance Survey, Wolverhampton Archive)

Hills Bridge (Andy Tidy)

Hills Bridge (Andy Tidy)

East from Hills Bridge 1979 (Alan T Smith)

Hill Bridge & Tube Works 1986 (John Fellows)

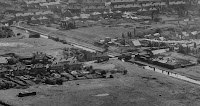
Hills Bridge 1947 (Britain from Above)

Fly Bridge looking South East (Britain from Above)

Fly Bridge looking South East 1947 (Britain from Above)

* Fly Bridge looking North East 1972 (Guy Morgan)

Fly Bridge 1952 (Ordnance Survey, Wolverhampton Archive)

Fly Bridge 1952 (Ordnance Survey, Wolverhampton Archive)

Fly Bridge 1952 Composite Image (Ordnance Survey, Wolverhampton Archive)


* Fibbersley to Fly Bridge

Fibbersley to Fly Bridge (Arthur Farrand Radley, BCNS)

Fibbersley Bridge 1952 (Ordnance Survey, Wolverhampton Archive)
.JPG)
Fibbersley Bridge 1952 (Ordnance Survey, Wolverhampton Archive)

Fibbersley Bridge looking South East 1947 (Britain from Above)
Fibbersley Bridge looking South East 1947 (Britain from Above)

From Fibbersley to Fly Bridge (Laurence Hogg)

* From Fibbersley to Dingle Bridge 1970 (John Whitehouse)

From Fibbersley to Dingle Bridge (Laurence Hogg)

Fibbersley Bridge during infilling (Lesley Robinson)

* Dingle Bridge 1960 (Justin Burrows)

Dingle Bridge

Dingle Bridge 1952 (Ordnance Survey, Wolverhampton Archive)
.JPG)
Dingle Bridge 1952 (Ordnance Survey, Wolverhampton Archive)

Monmer Lane to Farm Bridge 1939 (Britain from Above)

* Monmer Lane to Dingle Bridge 1960 (Justin Burrows)

* Monmer Lane to Dingle Bridge (Laurence Hogg)

* Monmer Lane Bridge on the left 1945 (John Smith)

* Monmer Lane Bridge on the left 1975


* Monmer Lane Bridge 1965 (Arthur & Mitchell Jones)
.JPG)
Monmer Lane Bridge 1952 (Ordnance Survey, Wolverhampton Archive)

Monmer Lane Bridge 1952 (Ordnance Survey, Wolverhampton Archive)

* Monmer Lane Bridge 1955 (Justin Burrows)

* Monmer Lane to Springbank Bridge

Monmor Lane 1952 (Britain from Above)

Monmer Lane to Clarke's Lane 1939 (Britain from Above)

Springbank Bridge 1971 (Ian Huselbee)
.JPG)
Springbank Bridge 1952 (Ordnance Survey, Wolverhampton Archive)
Springbank Bridge 1952 (Ordnance Survey, Wolverhampton Archive)

Springbank Bridge 1971 (Ian Huselbee)

Springbank Bridge 1971 (Ian Huselbee)

Sandbeds Flight looking East 1952 (Britain from Above)

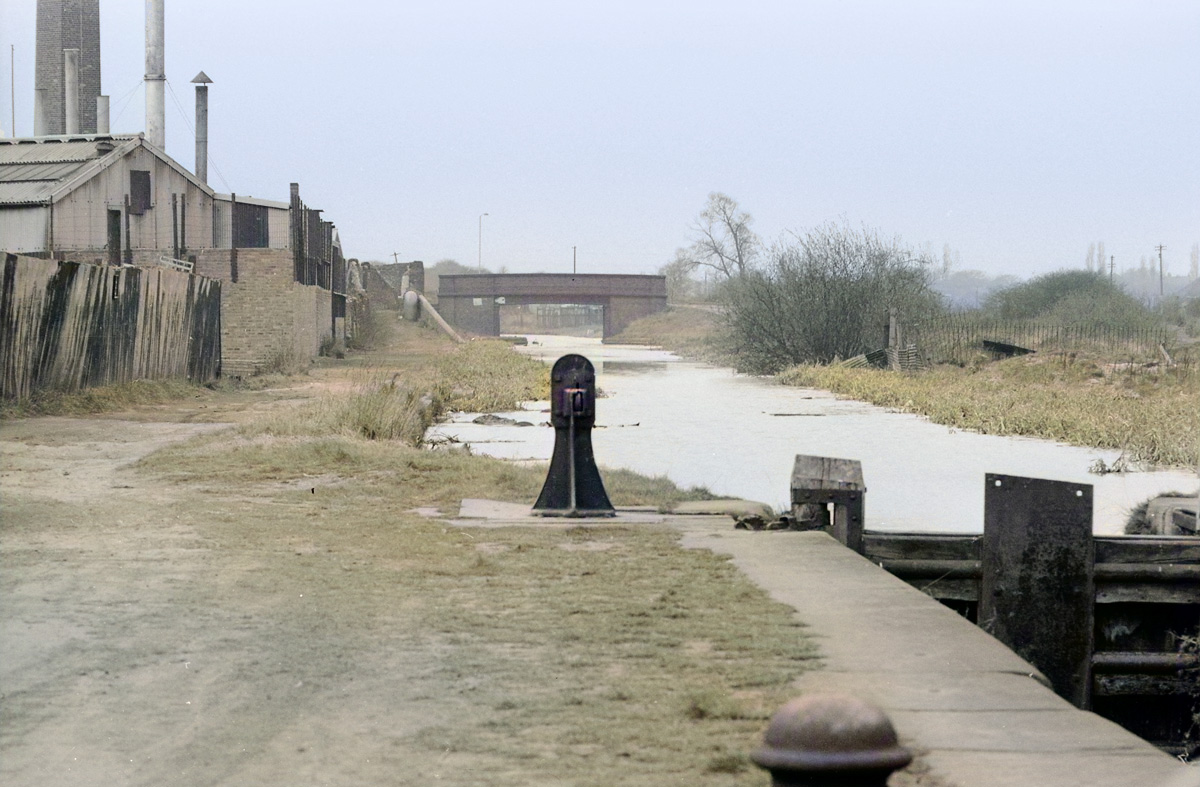
Lock 7 to Springbank Bridge 1965 (Ian Huselbee)
* Lock 7 to Springbank Bridge 1966 (HNBC Philip Weaver)
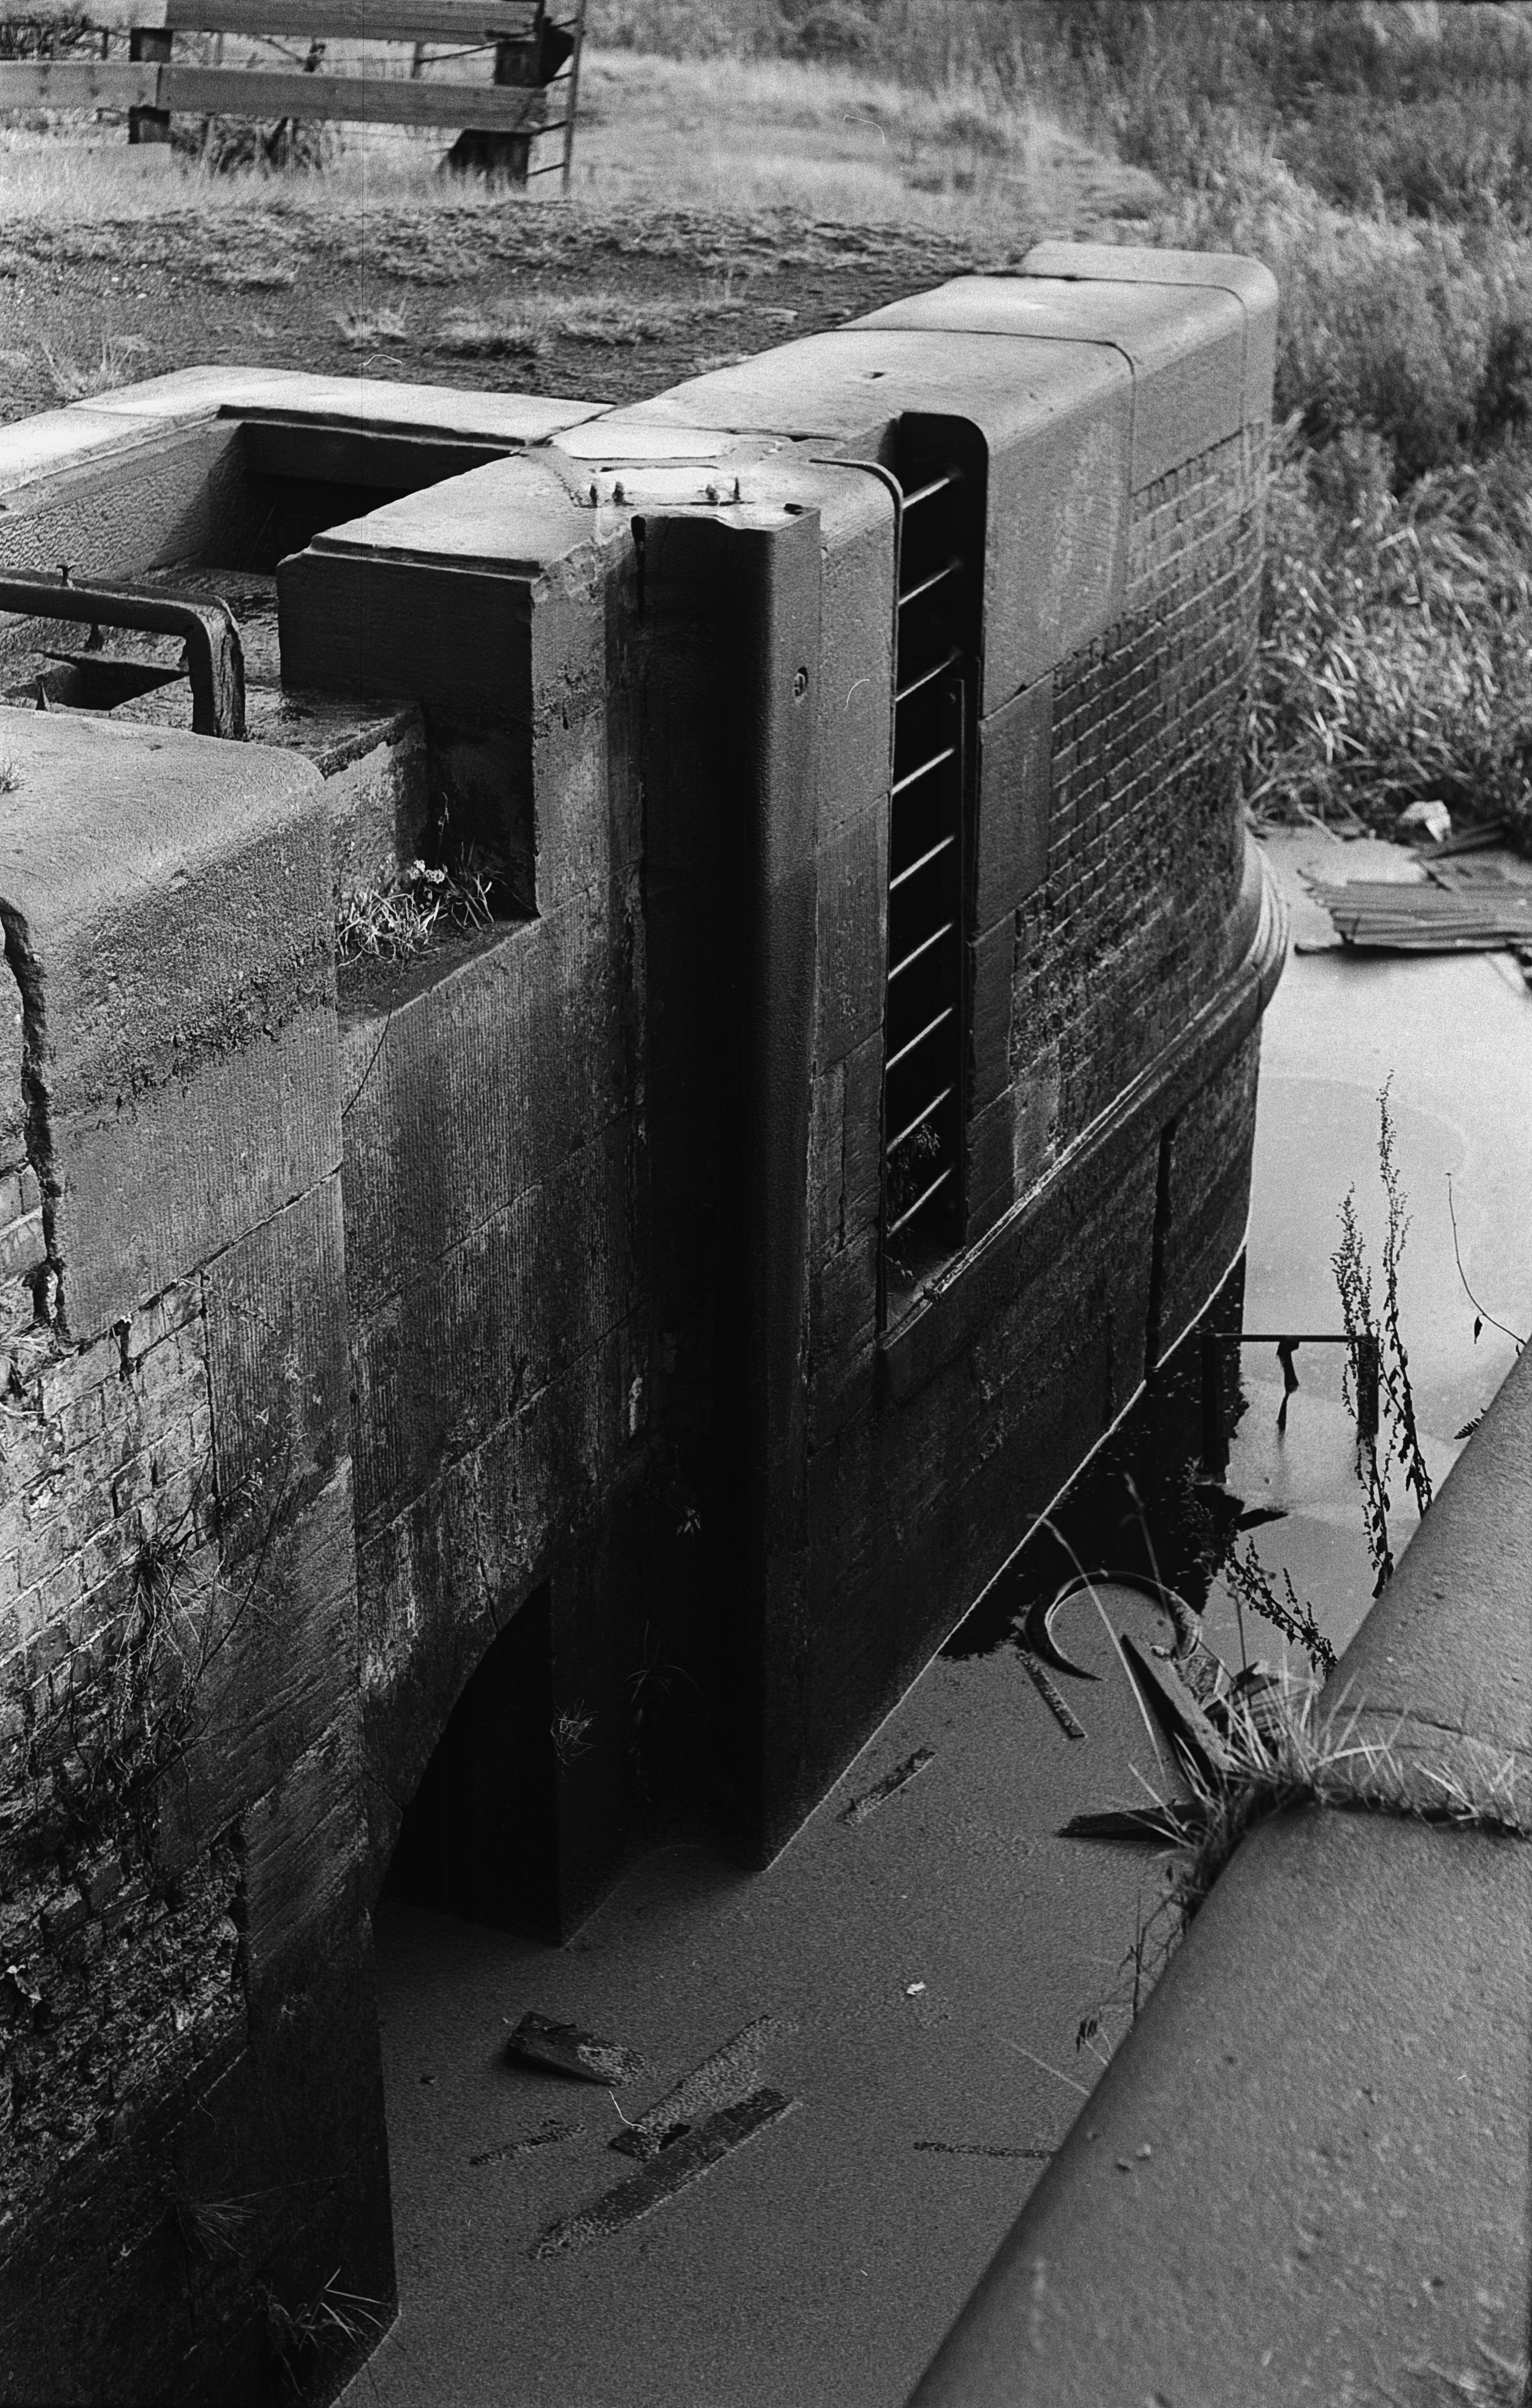
Lock 7 1971 (Ian Huselbee)

Lock 7 1971 (Ian Huselbee)


Sandbeds Flight to Anson Bridge 1952 (Britain from Above)

* Sandbeds Lock 8-7

Sandbeds Lock 8 (Laurence Hogg)

Bollard by Lock 8 1984 (John Fellows)

* Sandbeds Lock 8-7 1958 (Arthur Watts CRT Archives)

Lock 9 from Sanndbeds Bridge 1965 (Ian Huselbee)

* Sand Beds Bridge and Lock 8 1964 (Clement Grovesnor)

Sandbeds Flight 1939 (Britain from Above)

* Locks 9-10 1964 (Clement Grovesnor)

Sandbeds Lock 9 and Railway (HJ Starkey)

* Sandbeds Lock 9 1964 (Clement Grovesnor)

Sandbeds Lock 8-10 1952 (Britain from Above)

* Sandbeds Lock 10-9 1966 (HNBC Philip Weaver)

Sandbeds Lock 9-10 1952 (Britain from Above)

Sandbeds Lock 9-10 1952 (Britain from Above)

Sandbeds Lock 10 and Cottage 1971 (Ian Huselbee)

Sandbeds Lock 10 1971 (Ian Huselbee)

Sandbeds Lock 9-10 1952 (Britain from Above)

* Sandbeds Lock 10 and Cottage (Laurence Hogg)

Lock Cottage 247 by Lock 10 1972 (John Williams, Justin Burrows)

Sandbeds Lock 9-10 1947 (Britain from Above)

Sandbeds Lock 10 and Cottage 1971 (Ian Huselbee)

Sandbeds Lock 10 and Cottage 1971 (Ian Huselbee)

Sandbeds Lock Cottage 1971 (Ian Huselbee)

Sandbeds Lock Cottage 1972 (David Townsend)


Sandbeds Lock 10 1965 (Arthur Mitchell Jones)

Sandbeds Flight 1946 (Britain from Above)

* Clarkes Lane Bridge late 60's (Jenny Aston)


Farm Bridge looking East 1952 (Britain from Above)

* Farm Bridge looking East (Justin Burrows)

Farm Bridge looking West 1972/3 (Richard Ashmore)

Farm Bridge looking North 1952 (Britain from Above)


From Farm Bridge Looking East 1970 (John Whitehouse)

* From Farm Bridge Looking East 1972/3 (Richard Ashmore)

* From Farm Bridge Looking East? (Bob May)

Farm Bridge looking North 1947 (Britain from Above)

County Bridge to Farm Bridge 1952 (Britain from Above)

* East to County Bridge 1965 (JC Brown)


County Bridge Looking West (Laurence Hogg)

From County Bridge looking South (Laurence Hogg)

County Bridge to Anson Branch 1946 (Britain from Above)

* County Bridge 1960's (Steve King)

Clarke's Lane to Hopyard Bridge (Britain from Above)

Near County Bridge 1986 (John Fellows)

* Hopyards Bridge to County Bridge 1972 (Justin Burrows)

Hopyard's Bridge 1946 (Britain from Above)

Hopyard Bridge (Bing Maps)

County Bridge 1946 (Britain from Above)


Hopyard Bridge (Google Streetview)

County Bridge looking North 1952 (Britain from Above)

Hopyard Bridge 1946 (Britain from Above)

Hopyard Bridge (Bing Maps)

Hopyard Bridge 1946 (Britain from Above)

Hopyard Bridge to Clarkes Lane 1952 (Britain from Above)

Hopyard and Bentley Lane Bridge and Anson Branch 1952 (Britain from Above)

West from Bentley Lane Bridge 1965 (Ian Huselbee)

Bentley Lane Bridge 1965 (Ian Huselbee)

Bentley Lane Bridge 1946 (Britain from Above)

Bentley Lane Bridge 1952 (Britain from Above)

Bentley Lane Bridge 1965 (Ian Huselbee)

Junction with the Anson Branch 1979 (Trevor Littlewood)

Anson Branch to Monmer Lane Bridge 1952 (Britain from Above)

Anson Branch to Hill Bridge 1952 (Britain from Above)

* Anson Branch to Bentley Lane Bridge 1966 (HNBC Philip Weaver)

Junction with the Anson Branch to Bentley Lane Bridge (Jack Haddock)


Junction with the Anson Branch to Bentley Lane Bridge 1974 (Hugh Potter)

Anson Branch to Monmer Lane Bridge 1946 (Britain from Above)

Junction with the Anson Branch looking North East 1975 (Nick Yarwood)

Whole of the Bentley Canal looking West 1946 (Britain from Above)
Anson Branch

1:25000 Ordnance Survey Map 1920

* Junction with the Walsall Canal 1957 (Arthur Watts CRT Archive)

Junction with the Walsall Canal 1979 (Trevor Littlewood)


Anson Branch 1949 (Britain from Above)

Junction with the Walsall Canal (Hugh Potter)

Looking North from the Junction Bridge 1976 (John Adey/Jack Haddock)


Looking North near the Junction (Arthur Farrand Radley, BCNS)

Anson Branch Embankment 1934 (Britain from Above)

Anson Branch Aqueduct (John Fellows)

Aqueduct 1979 (Alan T Smith)

Anson Embankment from the West 1948 (Britain from Above)

Walsall Canal, Anson Branch and Bentley Canal 1948 (Britain from Above)

Junction with the Bentley Canal 1965 (Ian Huselbee)

Junction with the Anson Branch (BCNS)

Junction with the Anson Branch (Martin OKeeffe, BCNS)

Junction with the Bentley Canal 1965 (Ian Huselbee)

Anson Bentley Junction 1979 (Trevor Littlewood)

South from Bentley Mill Bridge (Arthur Farrand Radley, BCNS)

South from Bentley Mill Bridge 1965 (Ian Huselbee)

Bentley Mill Bridge (BCNS)

Bentley Mill Bridge 1965 (Ian Huselbee)

Bentley Mill Bridge (BCNS)

Bentley Mill Bridge (Philip Weaver HNBC)

Bentley Mill Bridge (BCNS)

North from Bentley Mill Bridge (Jack Haddock)

* North from Bentley Mill Bridge pre-M6 (Philip Weaver HNBC)

Bentley Mill Bridge 1965 (Ian Huselbee)

Bentley Canal East and Anson Branch North 1946 (Britain from Above)

* Bradford Bridge, now M6 Culvert (HNBC Philip Weaver)


* North to M6 Culvert

* Bradford Bridge (Philip Weaver HNBC)

* South West from Bradford Bridge (Philip Weaver HNBC)

South West from M6 Culvert

* North East from Bradford Bridge (Philip Weaver HNBC)

From M6 Culvert North (Richard Chester Browne)

Looking South before the M6 (Jack Haddock)

Looking South from Anson Bridge (Arthur Farrand Radley BCNS)

* Looking South to the M6 (Philip Weaver HNBC)

Bloxwich Lane Bridge (Laurence Hogg)

* North from Bloxwich Lane Bridge

* North from Bloxwich Lane Bridge (Philip Weaver HNBC)

Anson Bridge 1965 (Ian Huselbee)


* Bentley Lane or Reedswood Bridge (Philip Weaver HNBC)

Reedswood Bridge 1965 (Ian Huselbee)

Reedswood Bridge 1965 (Ian Huselbee)

Northern End of the Anson Branch (Britain from Above)

Reedswood Basin (Britain from Above)

* Reedswood Basin

Reedswood Bridge 1965 (Ian Huselbee)

* Reedswood Basin and BCN Cottage 248 (Geoff Taylor)


Reedswood Basin 1904 (Harry Taylor)

Reedswood Basin 1950 (Britain from Above)

Reedswood Basin (David Townsend)

Anson Branch from the North 1949 (Britain From Above)
James Bridge Arm


James Bridge Arm 1928 (Britain from Above)

James Bridge Arm 1928 (Britain from Above)
These images are reproduced for ease of research are are not the property of this blog, and as such should not be used for commercial gain without the explicit permission of the owner (whoever that


Comments
Post a Comment